Outlook Calendar
The GLYPH add-in lets you drop a secure GLYPH meeting straight into your Outlook calendar events. Getting set up is a three-step process: first you install the add-in from the Microsoft Marketplace, then you sign in to connect your GLYPH account, and from then on you can add a GLYPH meeting to any event you create.
The GLYPH add-in for Outlook is currently available on Outlook for web only. It is not yet available on iOS or Android.
Install the add-in
Before you can use the add-in, you need to install it in Outlook. This requires an active Microsoft 365 subscription — add-ins are only available on 365 accounts. Once you have that, you install the GLYPH add-in from the Microsoft Marketplace (Microsoft's app store for Outlook), and it will appear alongside your other add-ins.
- Follow Microsoft's guide to use add-ins in Outlook.
- Get the GLYPH add-in from the Microsoft Marketplace and install it.
Sign in
With the add-in installed, the next step is to connect it to your GLYPH account. The first time you open the add-in, you'll be prompted to sign in — you only need to do this once.
-
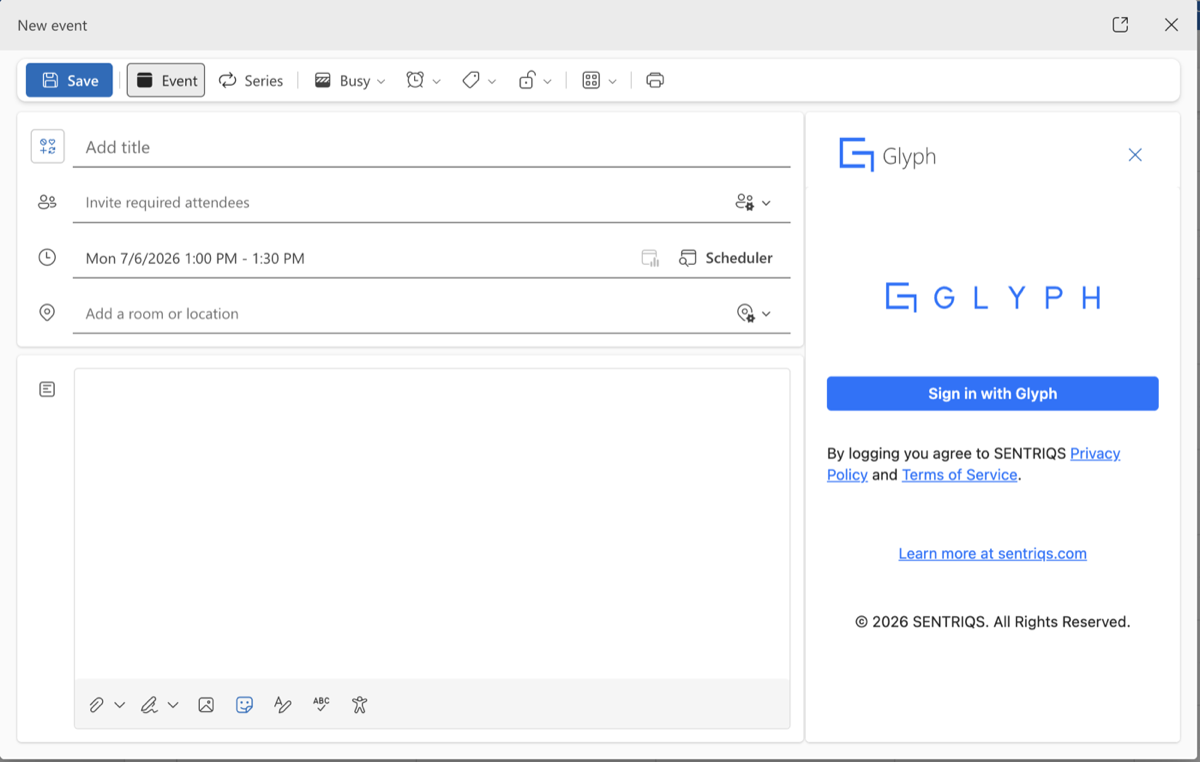
Open the add-in from your add-ins list and click Sign in with GLYPH.
-
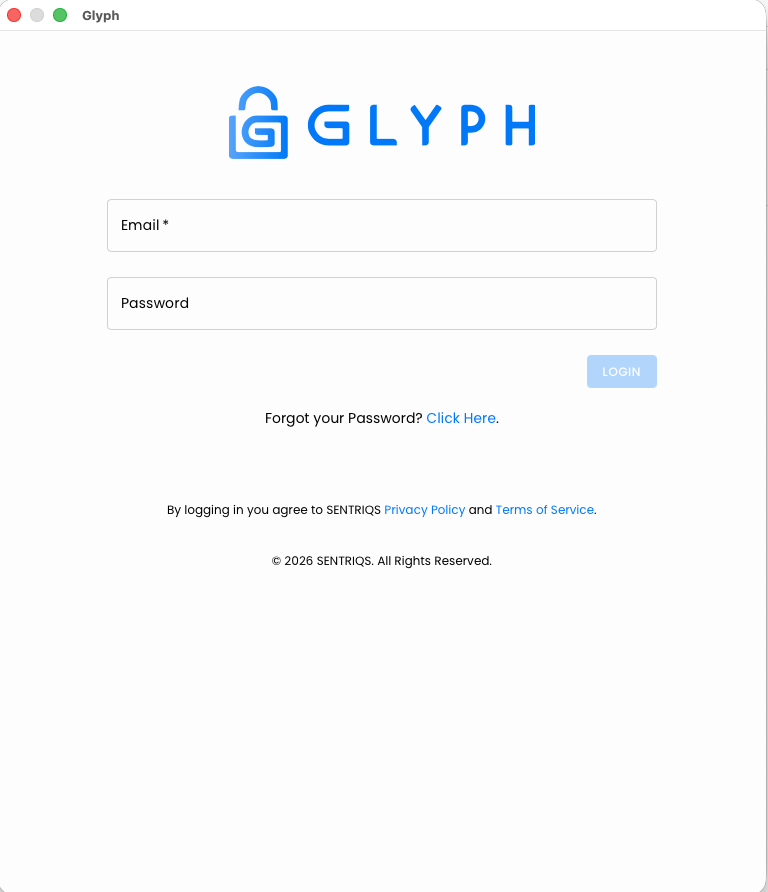
Sign in via the pop-up modal and enter your credentials.
-
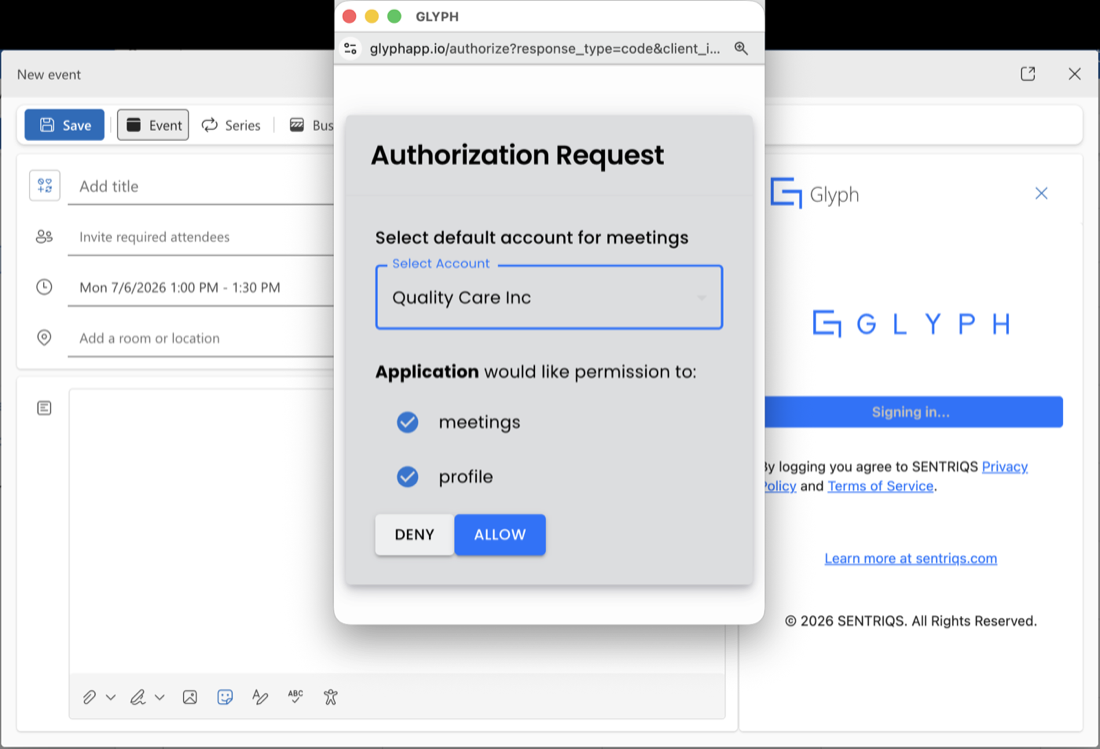
Select the workspace you'd like to use and allow the permission share.
-
Done — you're signed in.
Schedule a meeting
Now that you're installed and signed in, you're ready to use the add-in. From here on, you can add a GLYPH meeting to any Outlook event you create — just open the add-in while composing an event and fill in your meeting details.
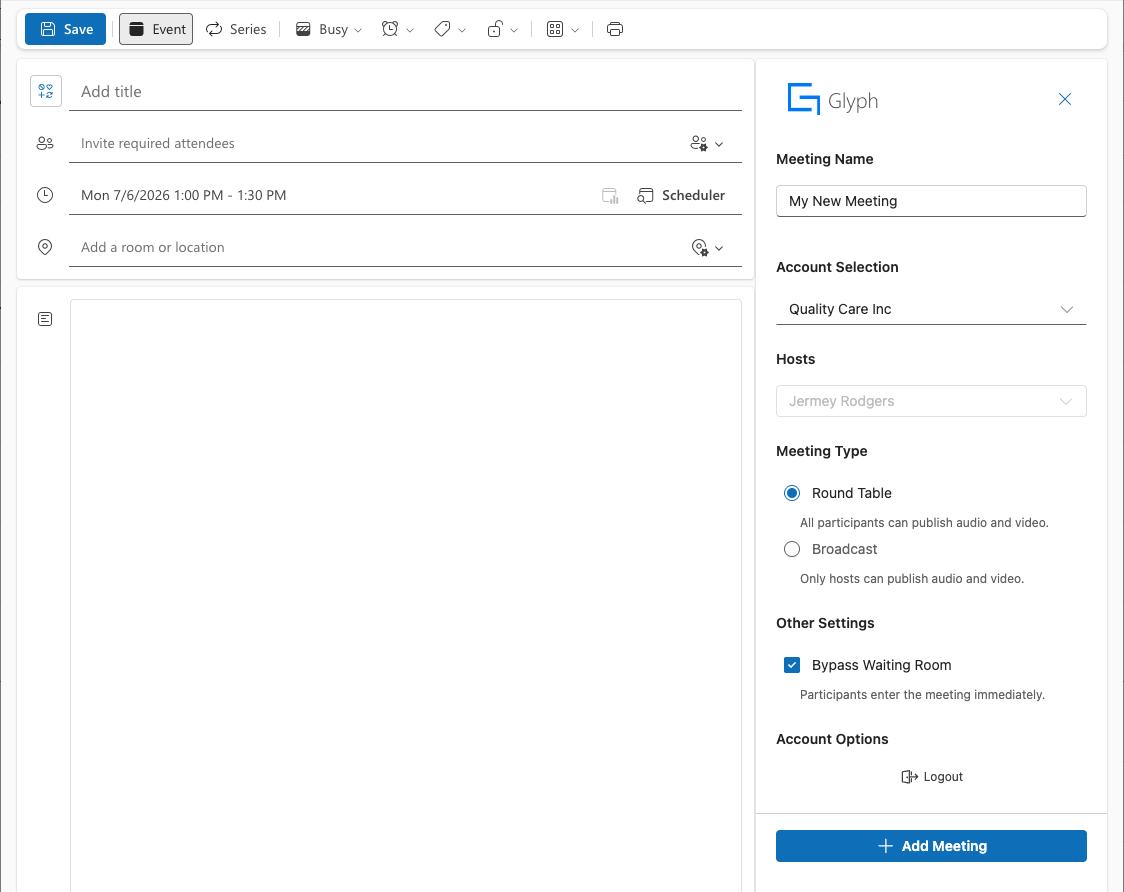
- Create a new event.
- Select Add-ins, then the GLYPH add-in.
- Name your meeting.
- Select your workspace or account.
- Select the meeting hosts.
- Meeting settings:
- Round Table vs Broadcast
- Bypass waiting room
- Meeting settings:
- Click Add meeting.