Groups and Direct Messages
GLYPH conversations occur within groups and direct messages. While direct messages are great for off-topic discussions, groups are better for organizing communications around specific topics, projects, or teams. In both groups and direct messages, you can:
- Send messages
- Post images
- Share files
- Conduct video huddles
- Create message threads with group members
We recommend that account admins create a few relevant groups for your team's needs before inviting additional members into your workspace.
How to Create Groups
-
Select the 3-dot menu (web) next to groups, or the
 + button (mobile), to begin creating a new group.
 -
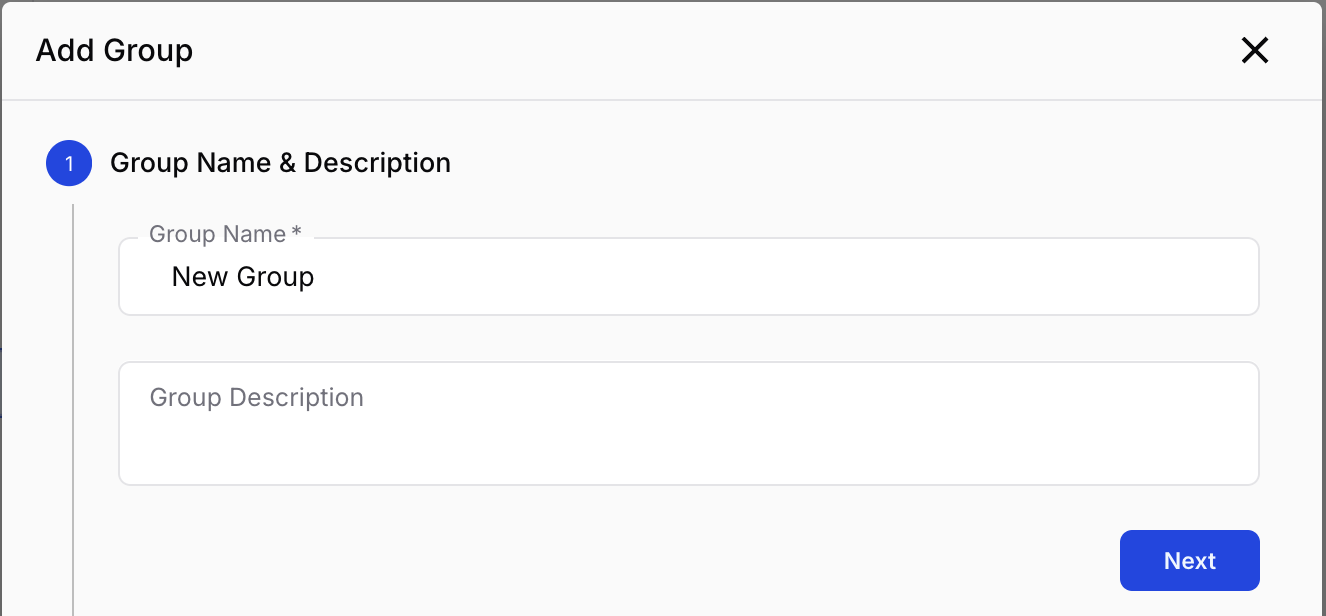
Name your group and give it a description. Descriptions help members understand the purpose of the group.
-
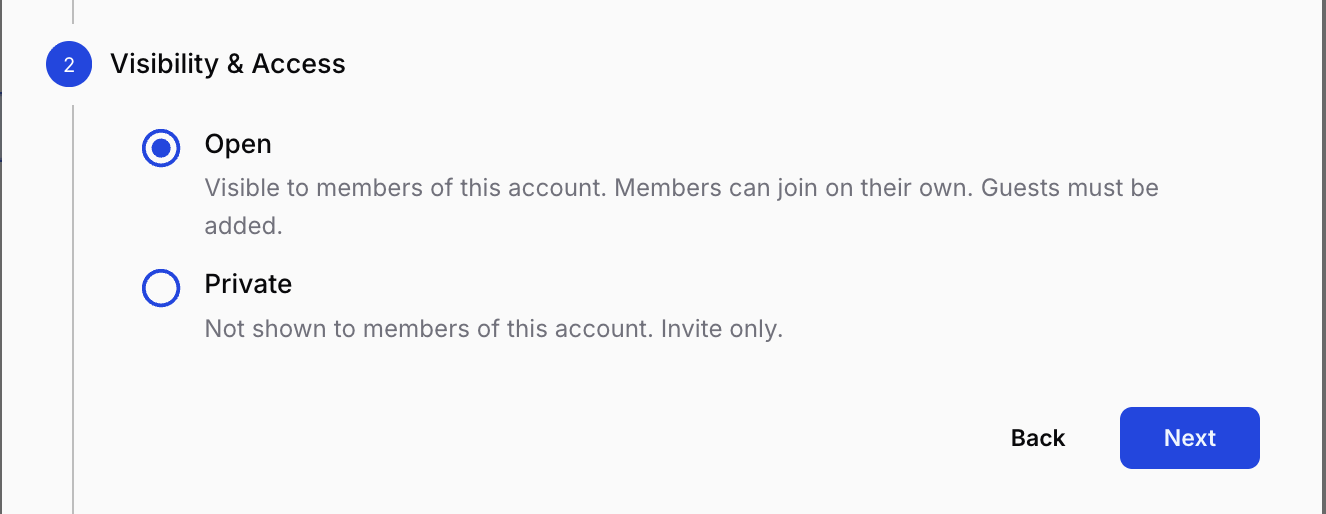
Select Visibility — Open or Private. (See Group Settings → Visibility.)
-
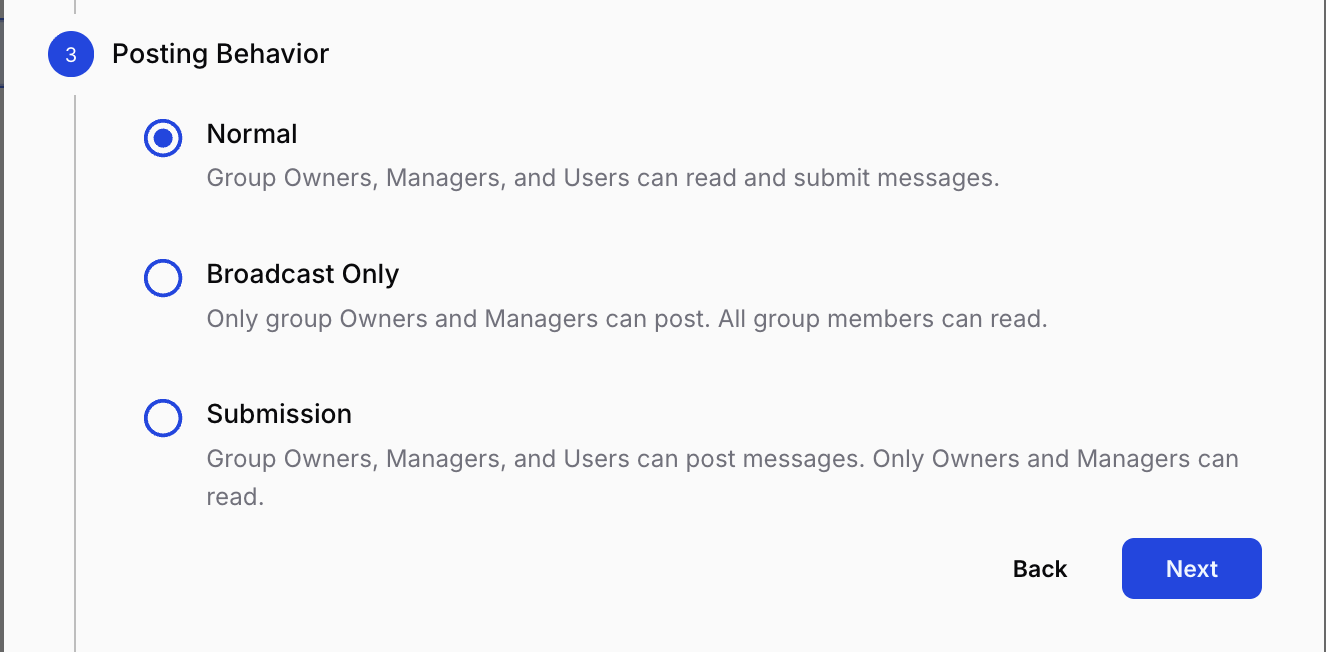
Select Posting Behavior — Normal, Broadcast, or Submission. This is permanent and cannot be changed later. (See Posting Behaviors.)
-
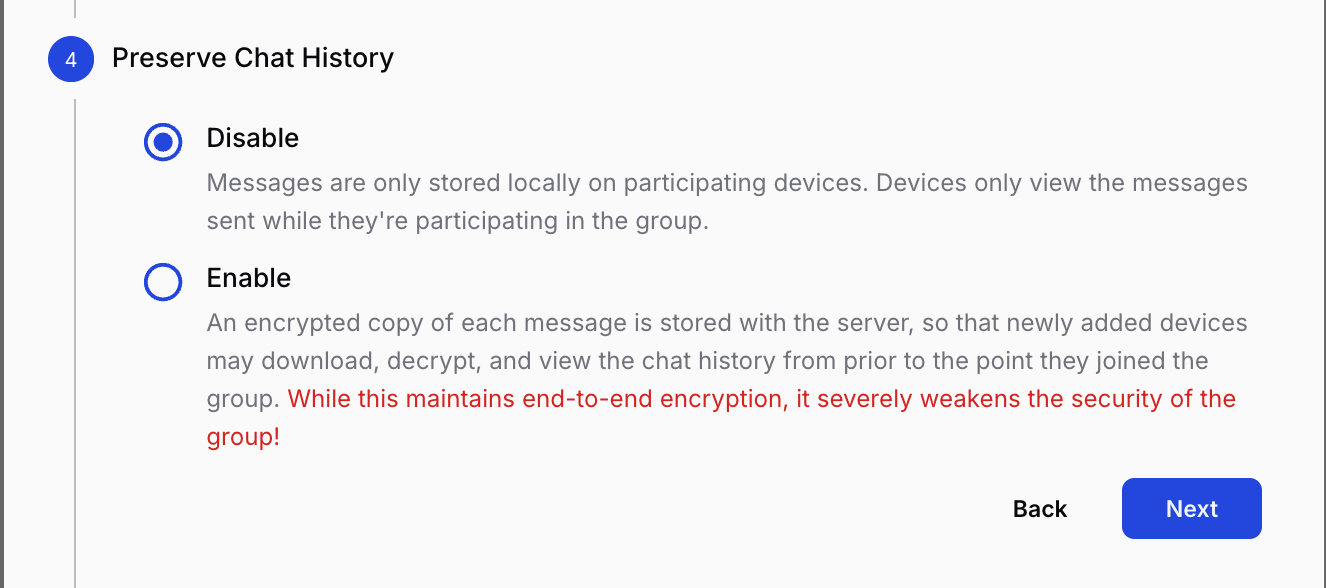
Select Preserve Chat History — leave disabled (default and recommended) unless you specifically need newly-added devices to download prior history. There's a meaningful security tradeoff explained in Group Settings → Preserve Chat History.
-
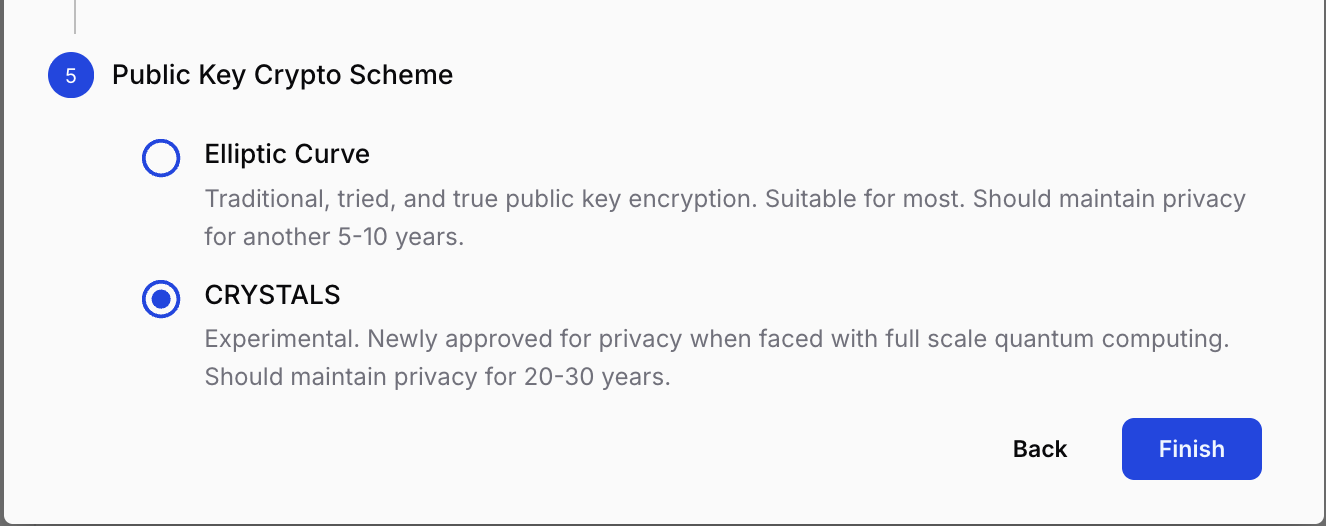
Select Crypto Scheme — CRYSTALS recommended for new groups. (See Group Settings → Crypto Scheme.)
-
Click Create.
Adding Group Members
- Web
- Mobile
-
After group creation, find the newly created group in your group list > Click the 3-dot menu > Members
-
Using the search tool, group owners and managers can add members to their groups.
-
Find member and select them.
-
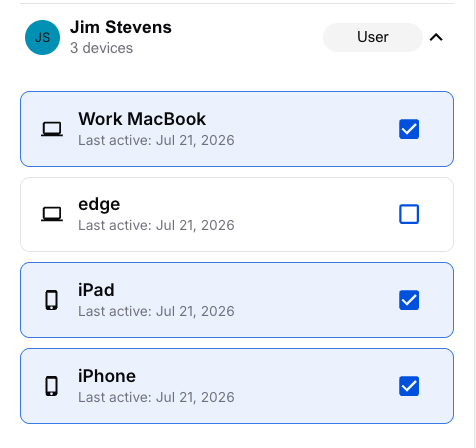
Once selected, you can expand/close a member's device list.
-
Select member devices.
-
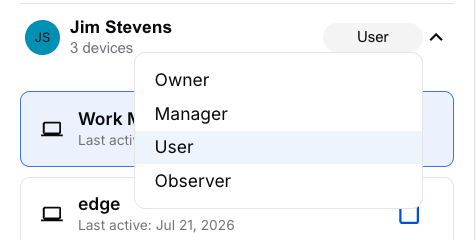
Verify member role.
-
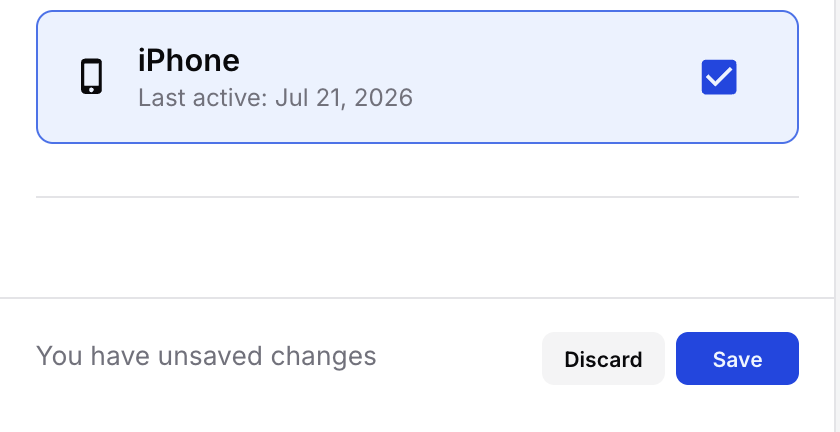
Once all members and devices have been selected, click "Save."
-
If you leave this view without saving no changes will be made.
-
-
Once created, we'll take you into the group members view to begin adding other members and devices.
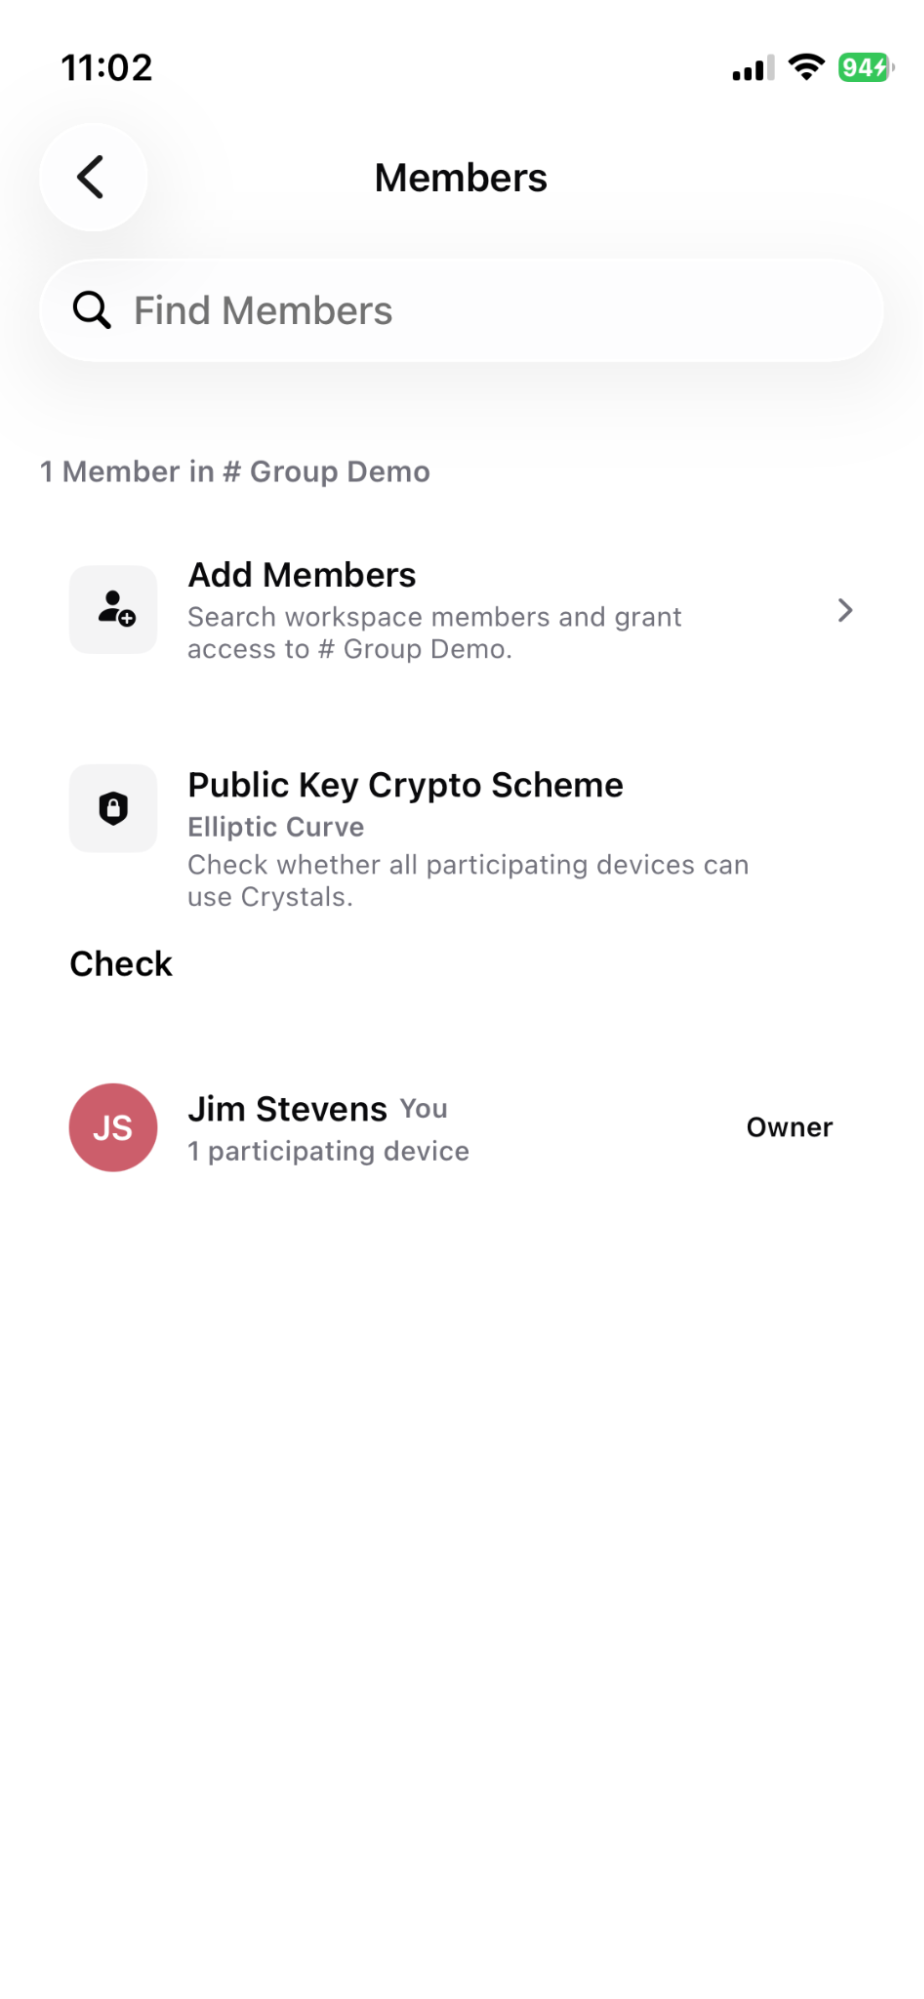
-
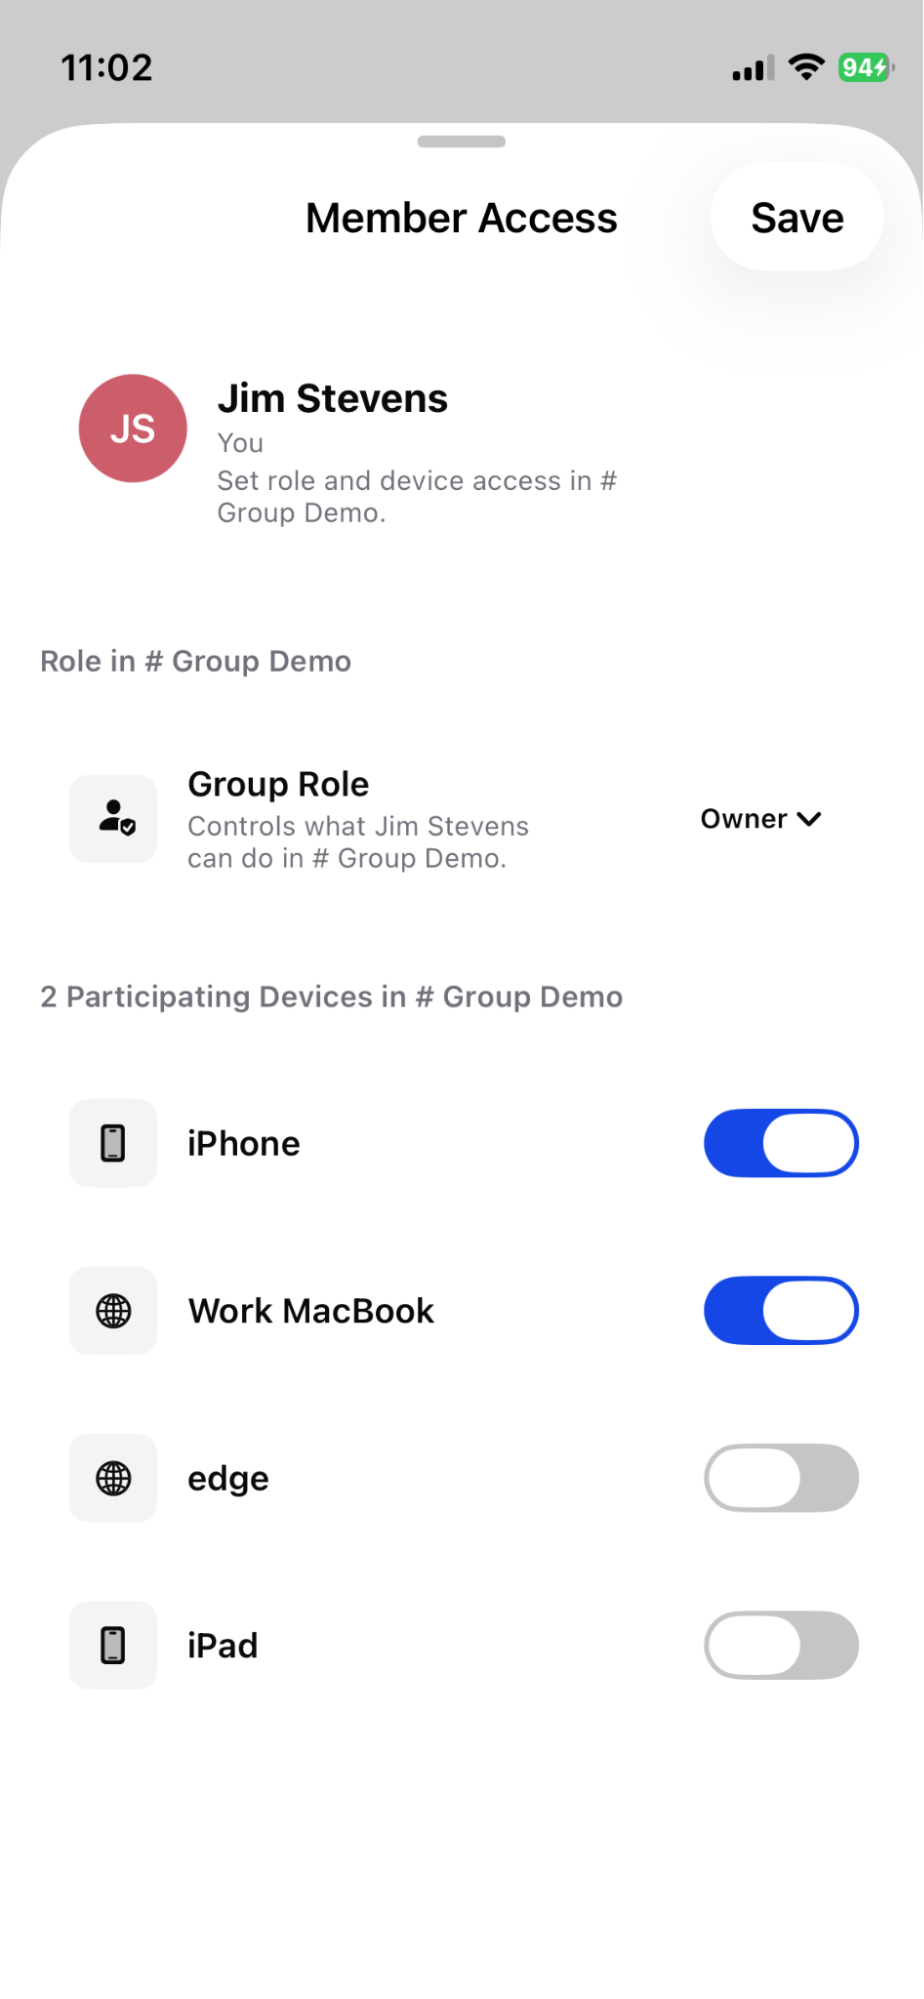
Select your name to expand your device list, toggle on any other devices you'd like to add, then tap Save.
-
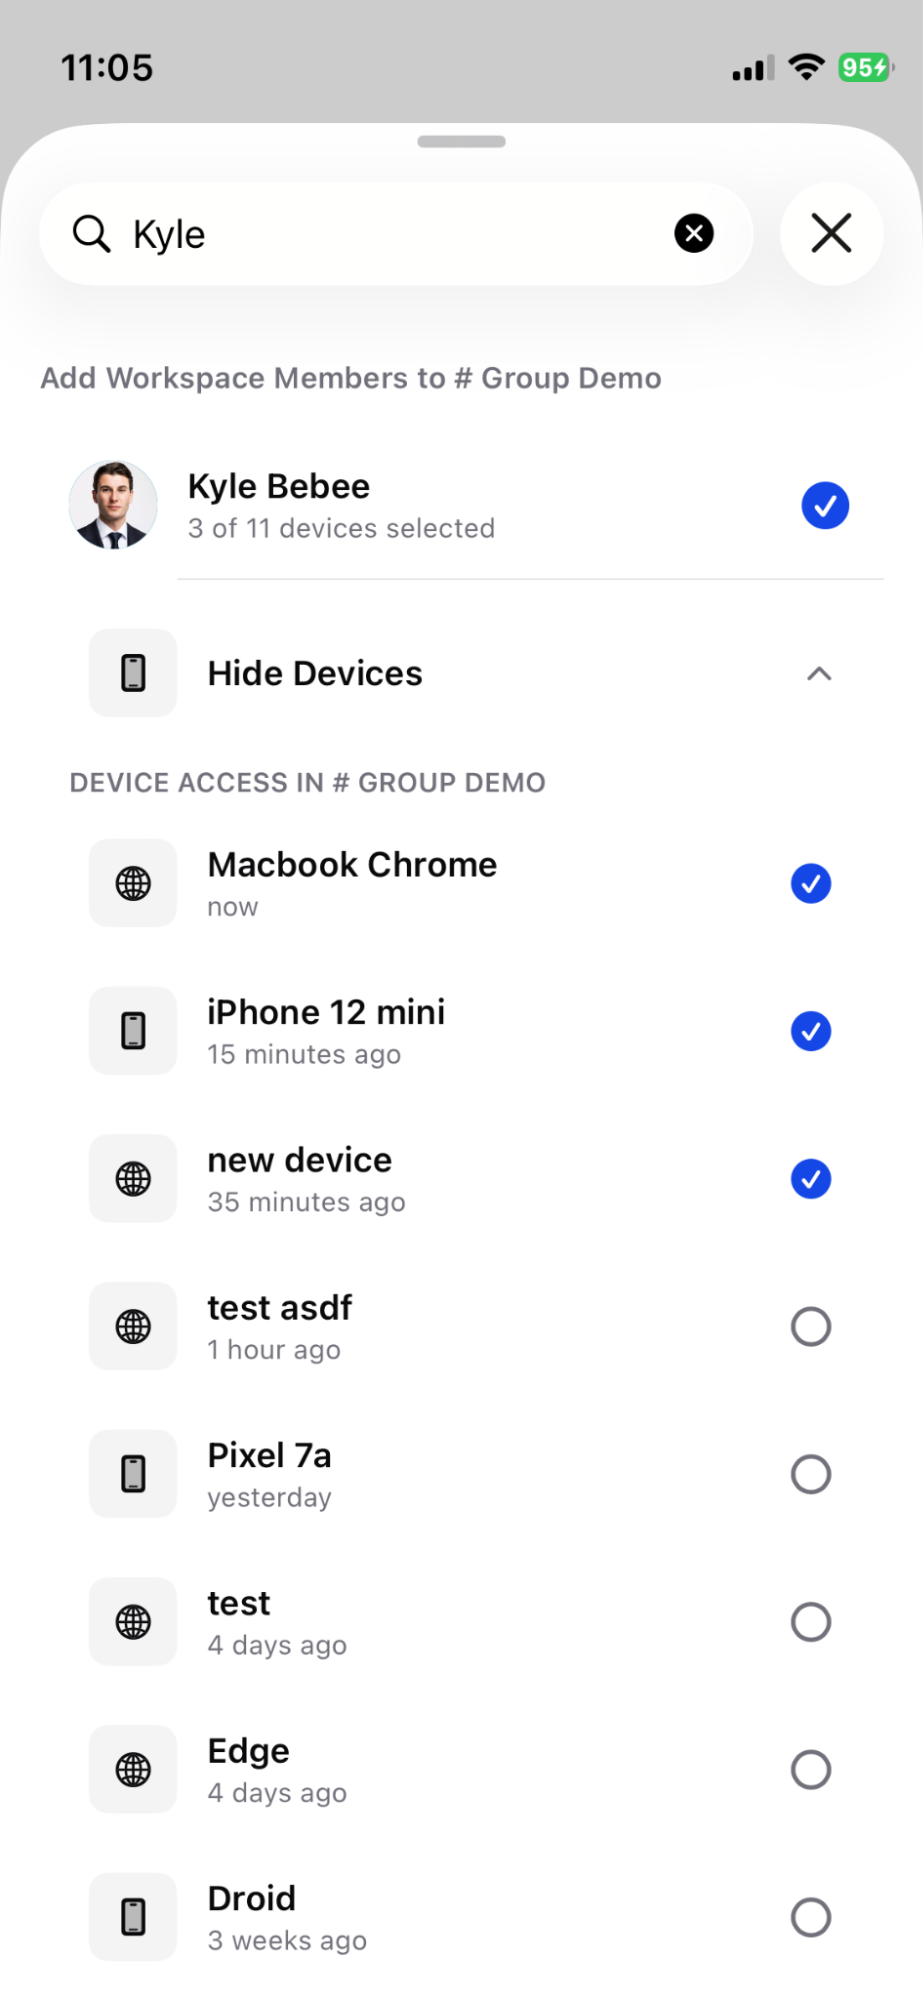
Tap Add Members to add other members to your group.
-
Using the search tool, find a member, then select and verify their devices.
-
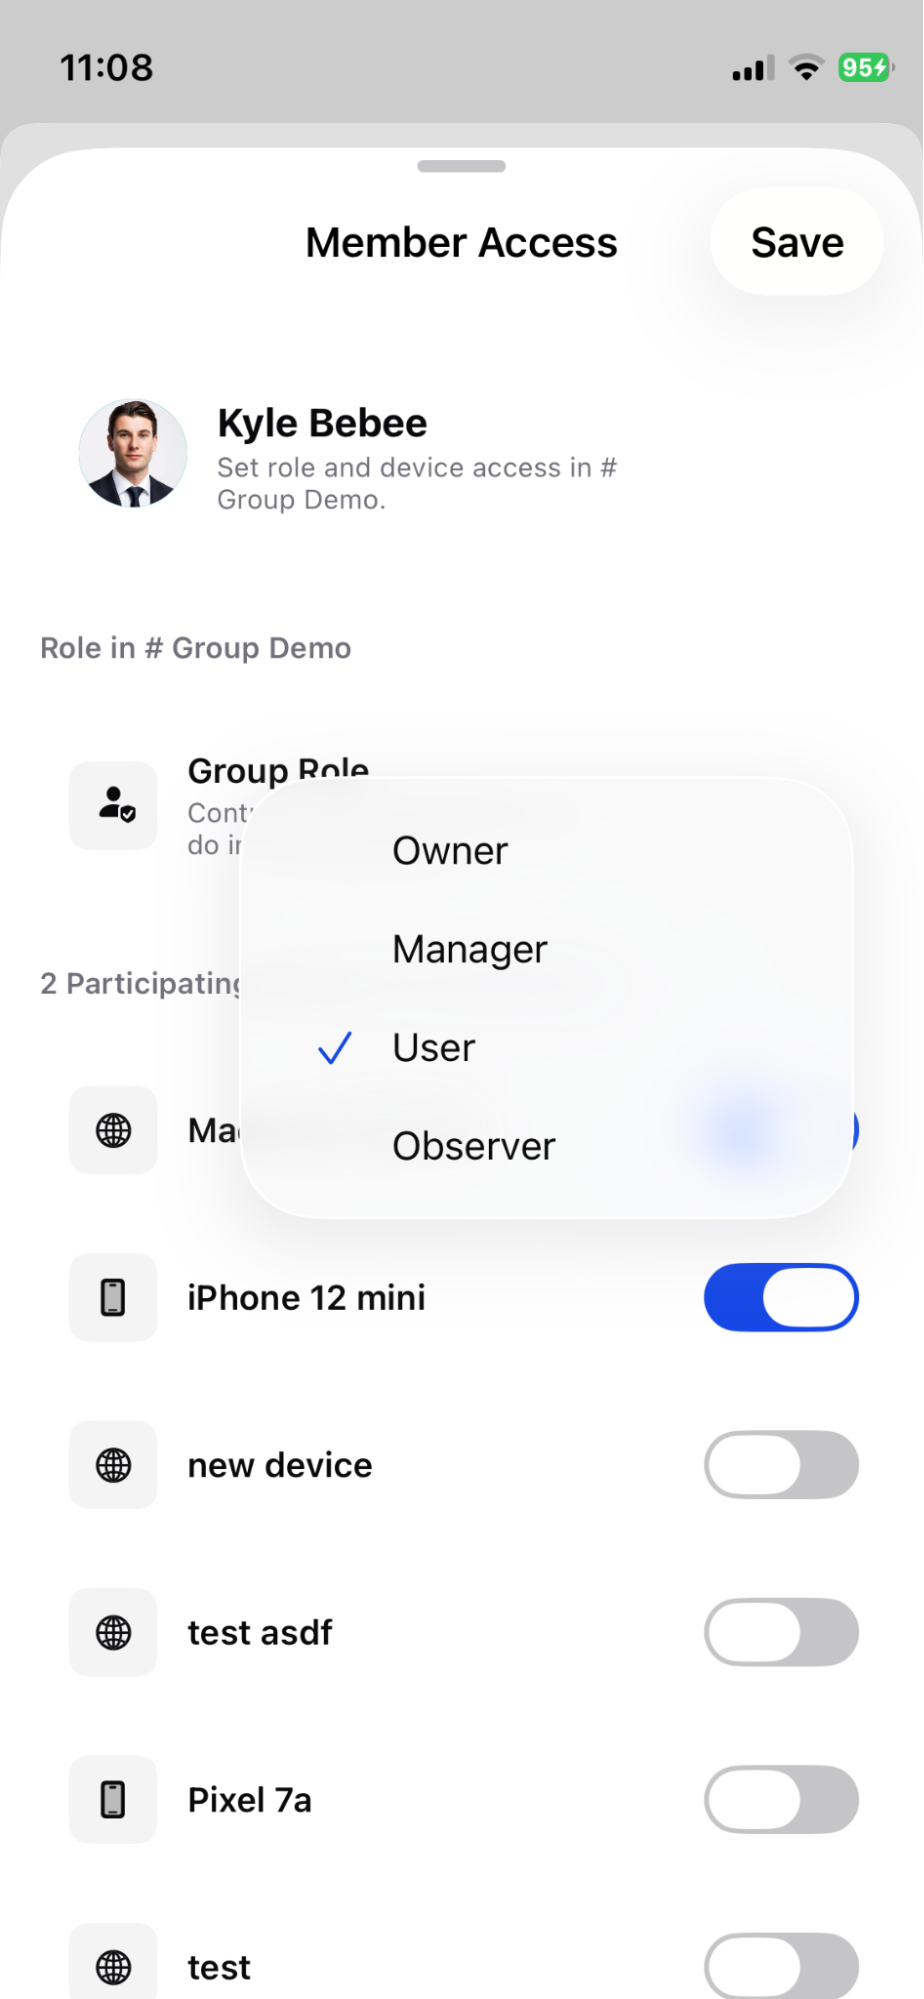
Verify member role.
-
Once all members and devices have been selected, tap Add to confirm.
-
If you leave this view without saving no changes will be made.
How to Create Direct Messages
- Web
- iOS
- Android
-
Select the
 pencil icon next to direct messages to begin.
 -
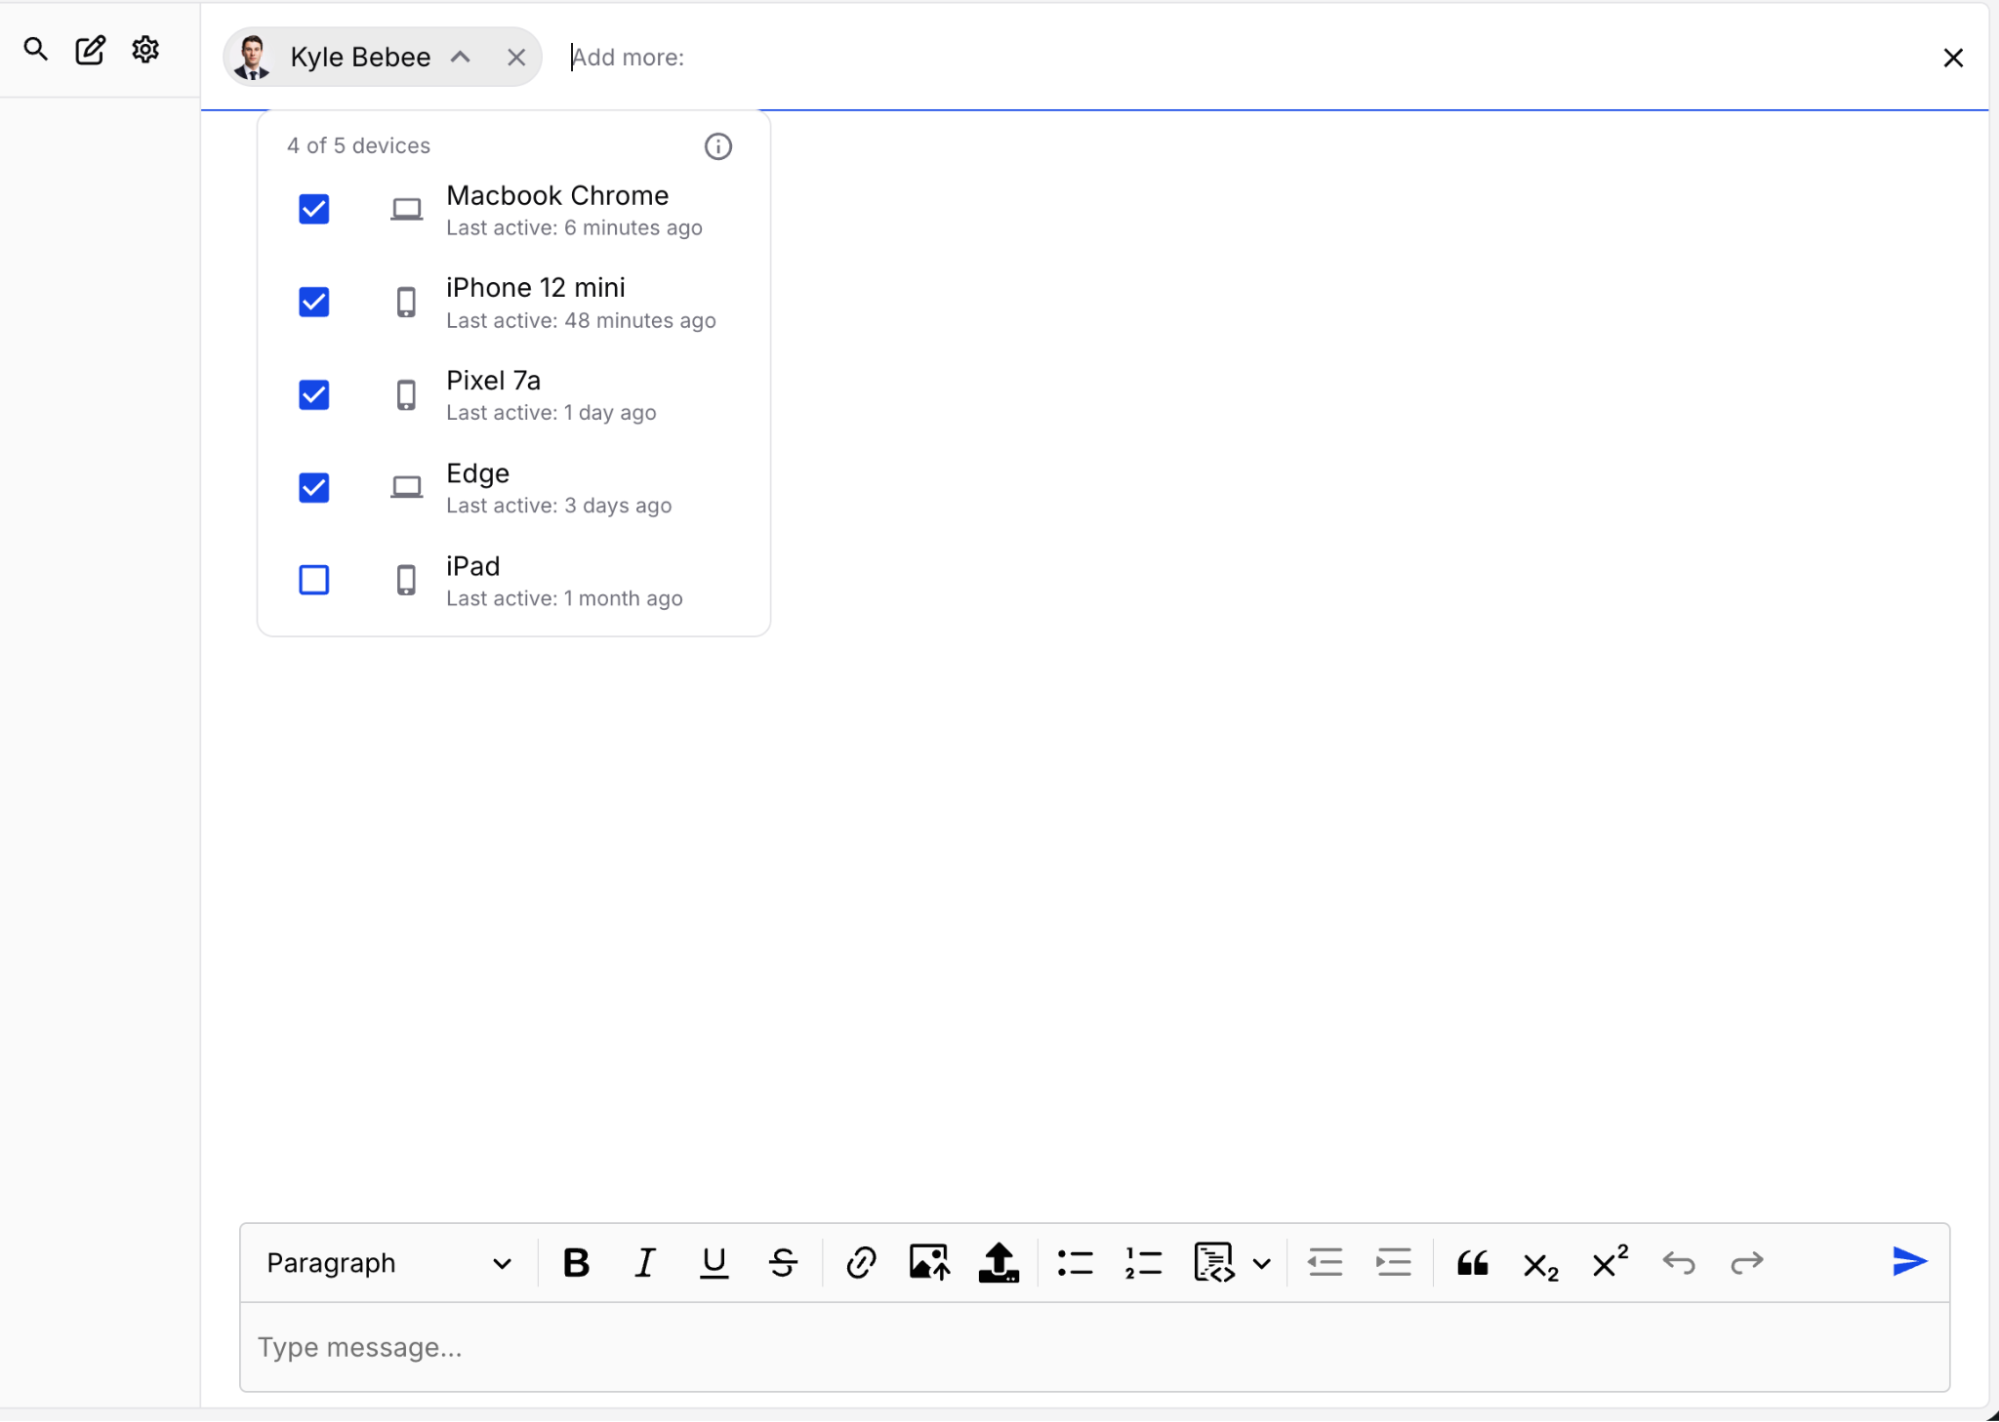
Using the search tool, find a member you'd like to direct message.
-
Select and verify member devices.
-
Once all members and devices have been selected, send a message to create a new direct message.
- Select the pencil icon next to direct messages to begin.
- Using the search tool, find a member you'd like to direct message.
- Select and verify member devices.
- Once all members and devices have been selected, send a message to create a new direct message.
- Select the pencil icon next to direct messages to begin.
- Using the search tool, find a member you'd like to direct message.
- Select and verify member devices.
- Select the back arrow to add additional members.
- Once all members and devices have been selected, hit "Next" from the member search view to continue.
- Send a message to finish creating the direct message.